Foldables are great, but sometimes they can get to be a bit much what with different ones to print and copy for every new lesson. Sometimes it’s just nice to have a simple, no fuss plan for the day. But that doesn’t mean you have to give up on foldables. Just switch to some easy-to-make designs that students can easily create themselves from a plain sheet of paper.
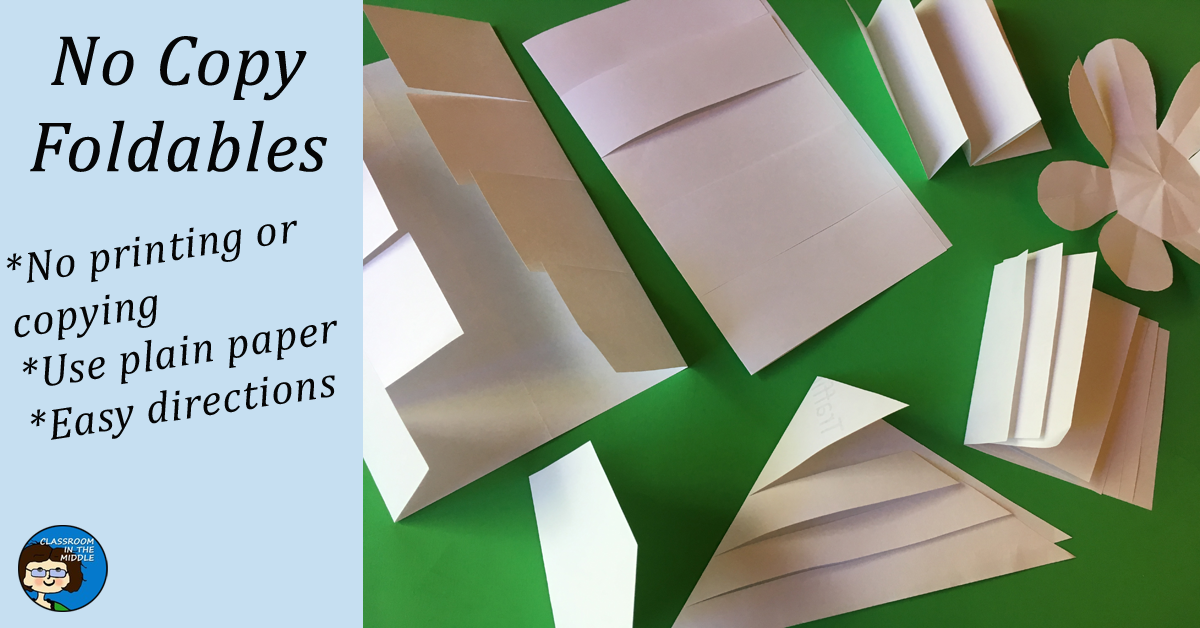
The foldables pictured here are simple, easy to make from plain paper, and useful for lots and lots of different lessons.
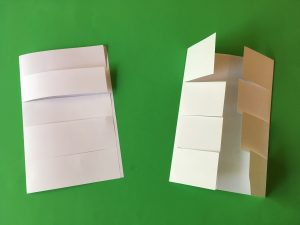
Flip charts are great for so many applications, and especially easy since each uses one whole sheet of paper. The single-fold flip chart is made by just folding a sheet of paper and then cutting slits in the one half. For the double-fold flip chart, fold the paper in half first, just to mark a center line, and then unfold it. Next, fold in each side to the center to make the two flaps, and cut the slits.
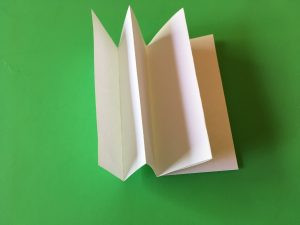
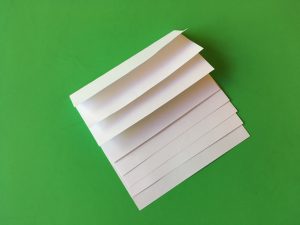
This accordion foldable is great for anything with a sequence to it, such as a time line, or a list of steps. Start with a half sheet of paper, and fold it back and forth to make the pleats.
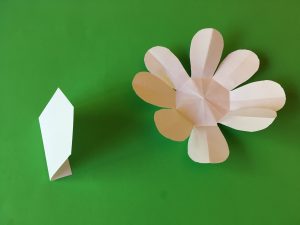
Pop-up foldables have many uses too, and you can vary the number of sections to suit the amount of information that kids will be writing on or under the fold-up shapes. Just cut any shape, making sure to have one part that will be for gluing down to the notebook page.
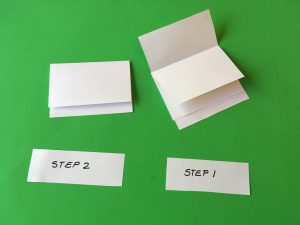
Layered foldables are good for holding lots of information organized in sections, and they’re easier than they look. Just cut a sheet of paper in half, and then in half again to make four small rectangles. Then follow these two steps.
Step 1 – Fold one piece of the paper in half.
Step 2 – Place that folded piece on top of a second piece of paper about a half-inch above the bottom edge. Then fold the second paper over the first.
Repeat step 2 for each additional piece of paper.
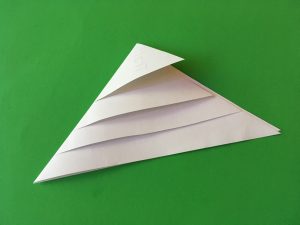
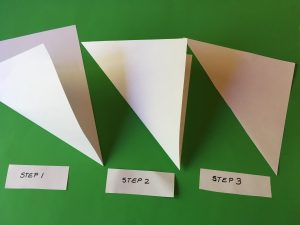
Triangle foldables are great for anything in ascending or descending order, or just as a different-shaped flip book when you have lots to write about some of the items and not so much about others. Follow these easy steps.
Step 1 – Fold a sheet of paper from the corner to make a square.
Step 2 – Cut off the excess.
Step 3 – Cut the square on the fold to make two triangles. You’ll use one triangle to make each foldable.
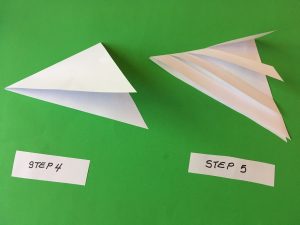
Step 4 – Fold the triangle in half.
Step 5 – Cut the slits.
After students make an new foldable for the first time, post a sample in the room, and soon all you’ll have to say is “Make a layered foldable,” and they will be able to take it from there.
Update
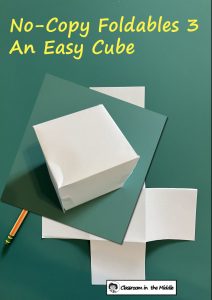
Here are the links to some follow-up posts:
Resources from Classroom in the Middle







Great ideas. I will definitely use these in my science classes.
Great for my high school special ed students! Thanks for sharing!!
love these!