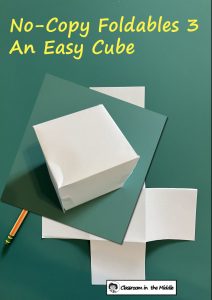


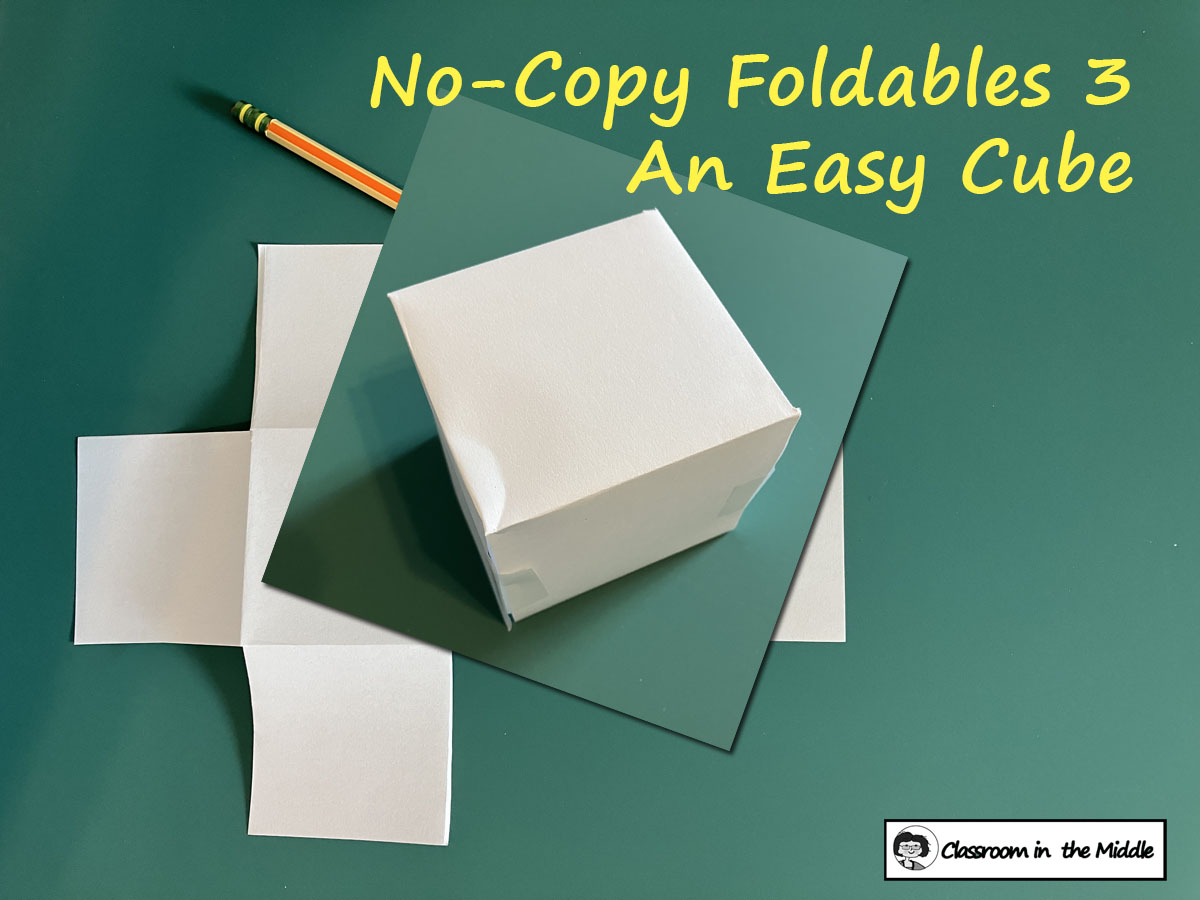
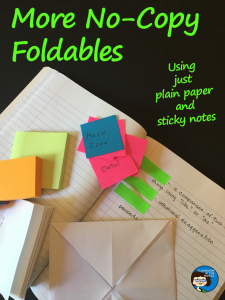
So, I’ve written before about various organizers that kids can make from just a sheet of printer paper (no copying needed), and about organizers that they can put together from sticky notes. Today, I thought I would add to my posts about no-copy foldables with this one about making a simple cube.
These little cubes are great, fun-to-make organizers that are useful for lots of classroom activities. For example, students can make a cube to identify the story elements in their free-reading books. Or they could make one about a particular part of speech. Just for a few examples.
The steps are simple:
- Crease the paper and cut out a cube.
- Fill out each of the six sides with information or drawings.
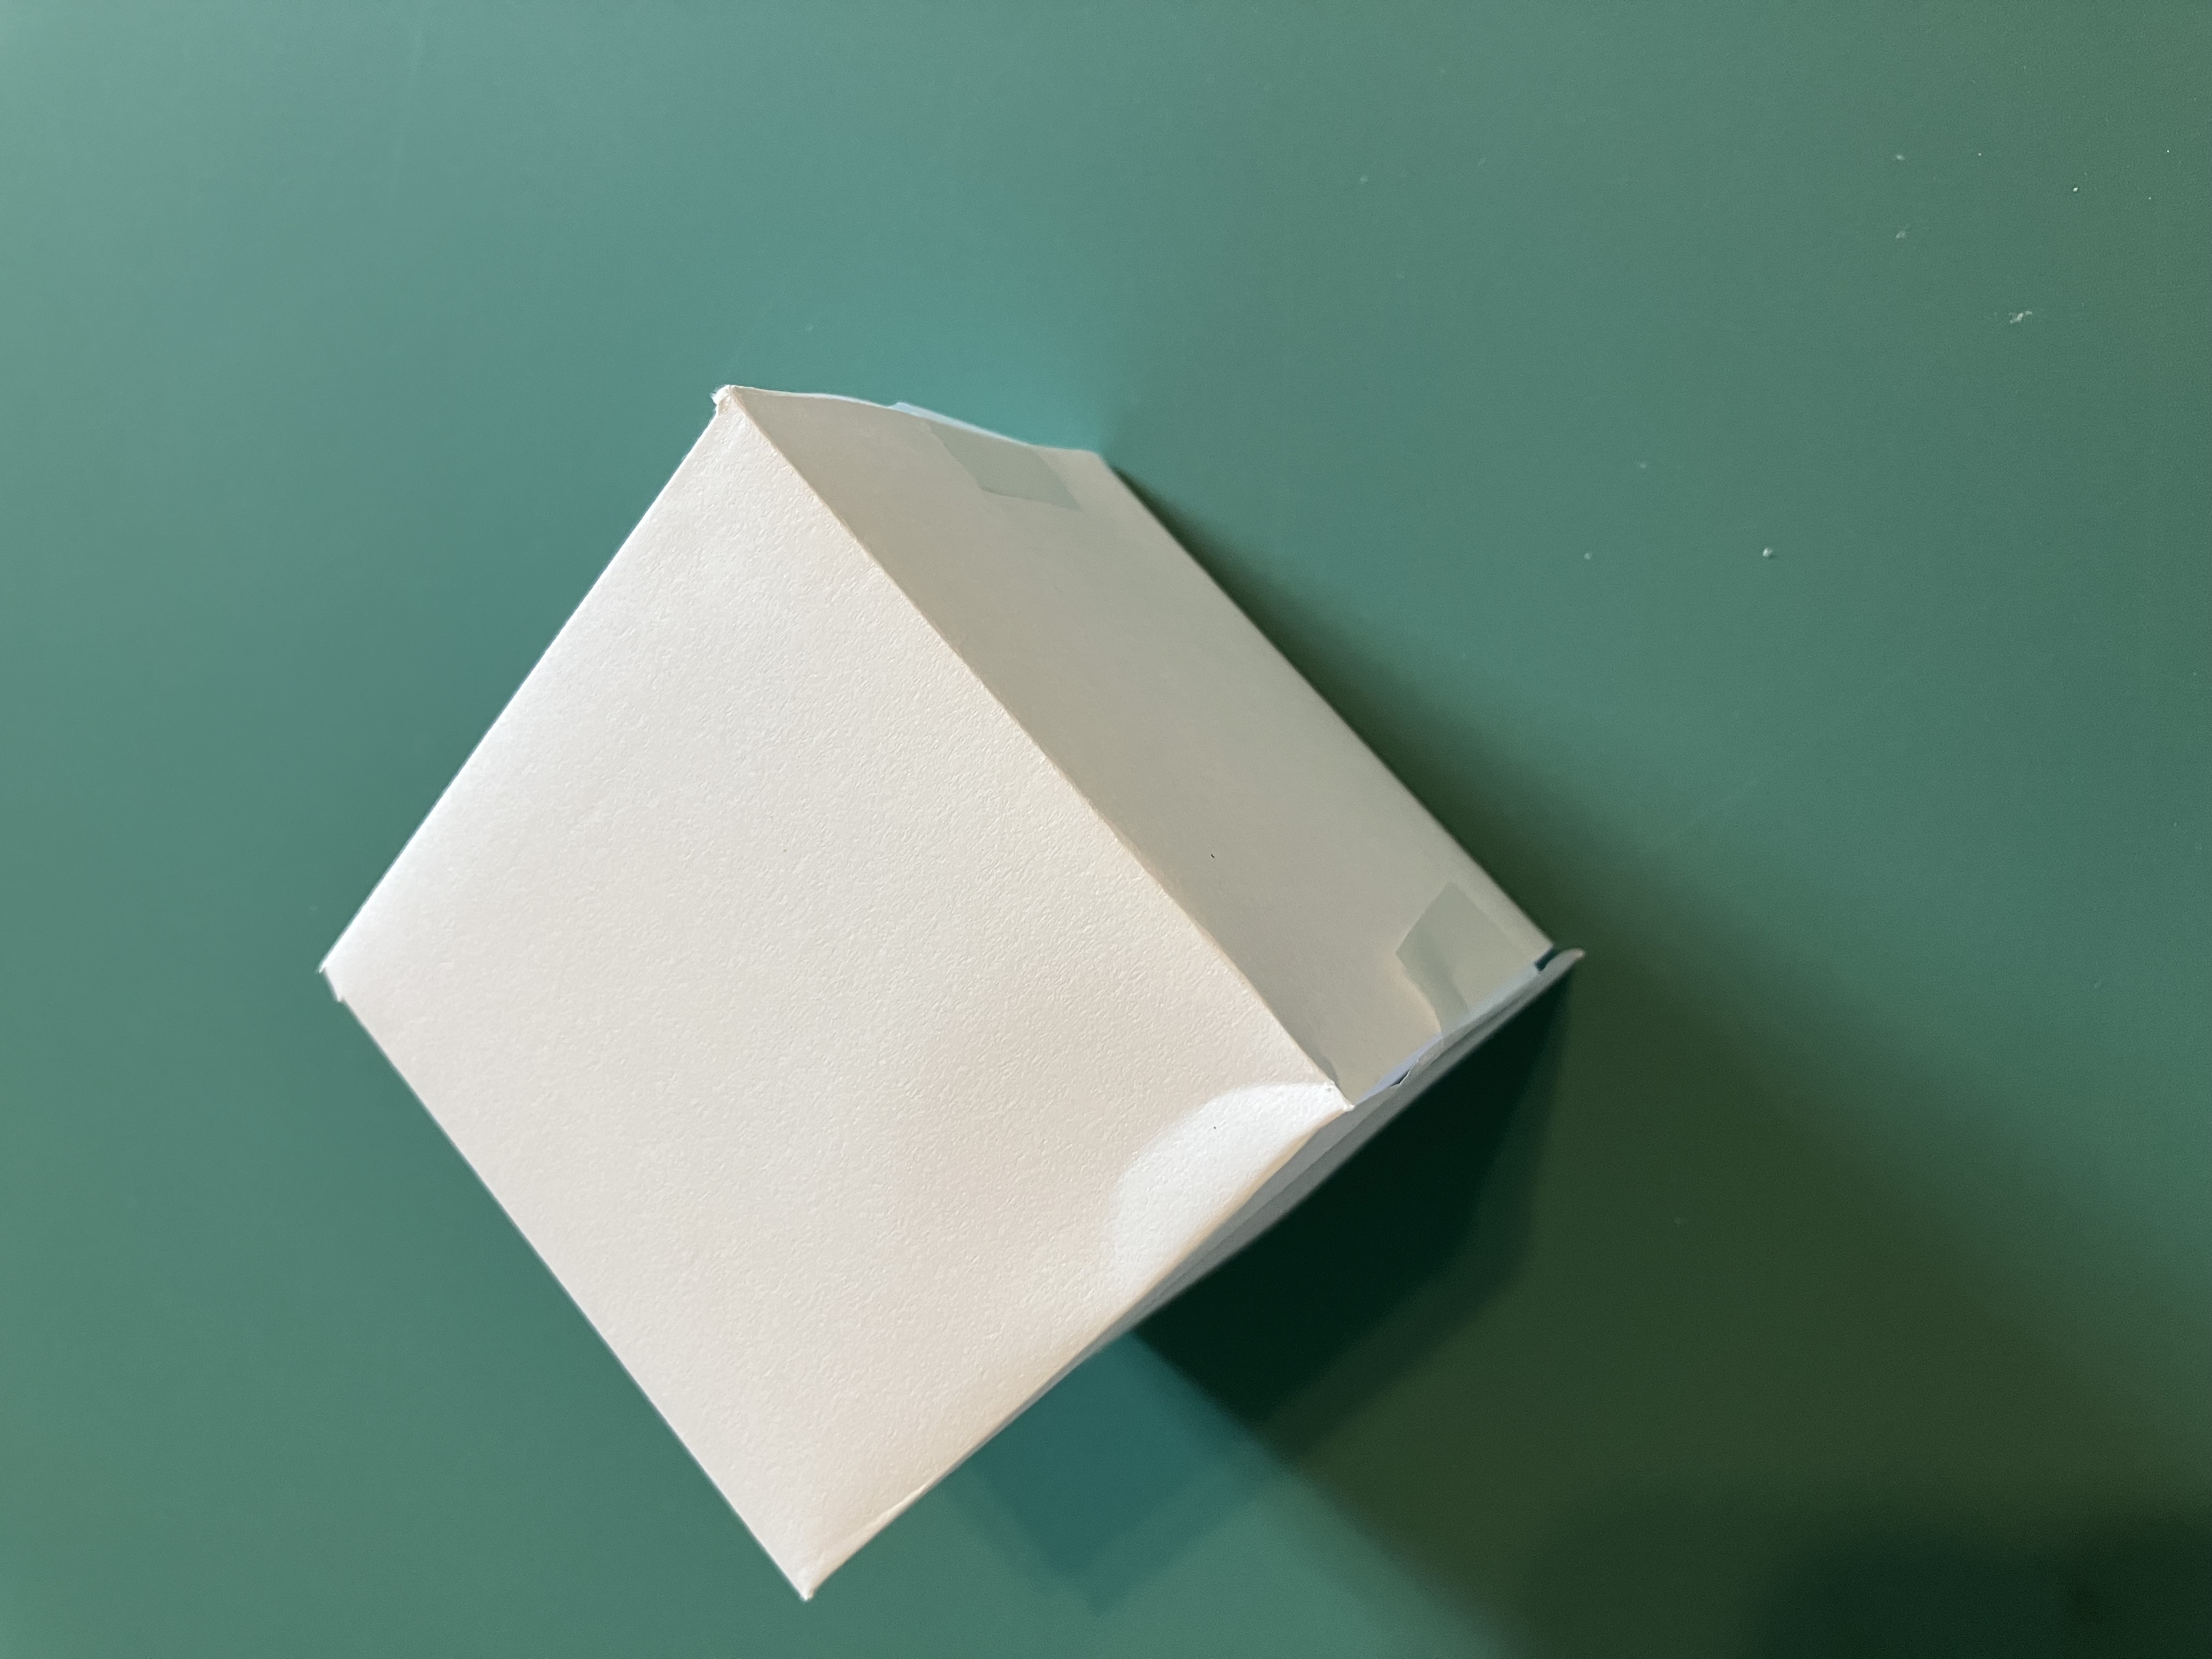
- Fold and tape the cube.
To start, fold a sheet of paper in thirds, hotdog style. Use a ruler to incorporate a bit of measurement and make the math teachers happy, or just eyeball it. Then open the paper out flat.

Next, fold it in half, hamburger style, and then fold it again into quarters. Open it out flat.


Cut away the corner pieces as shown, leaving a cross that is four squares long with one extra square on each side.
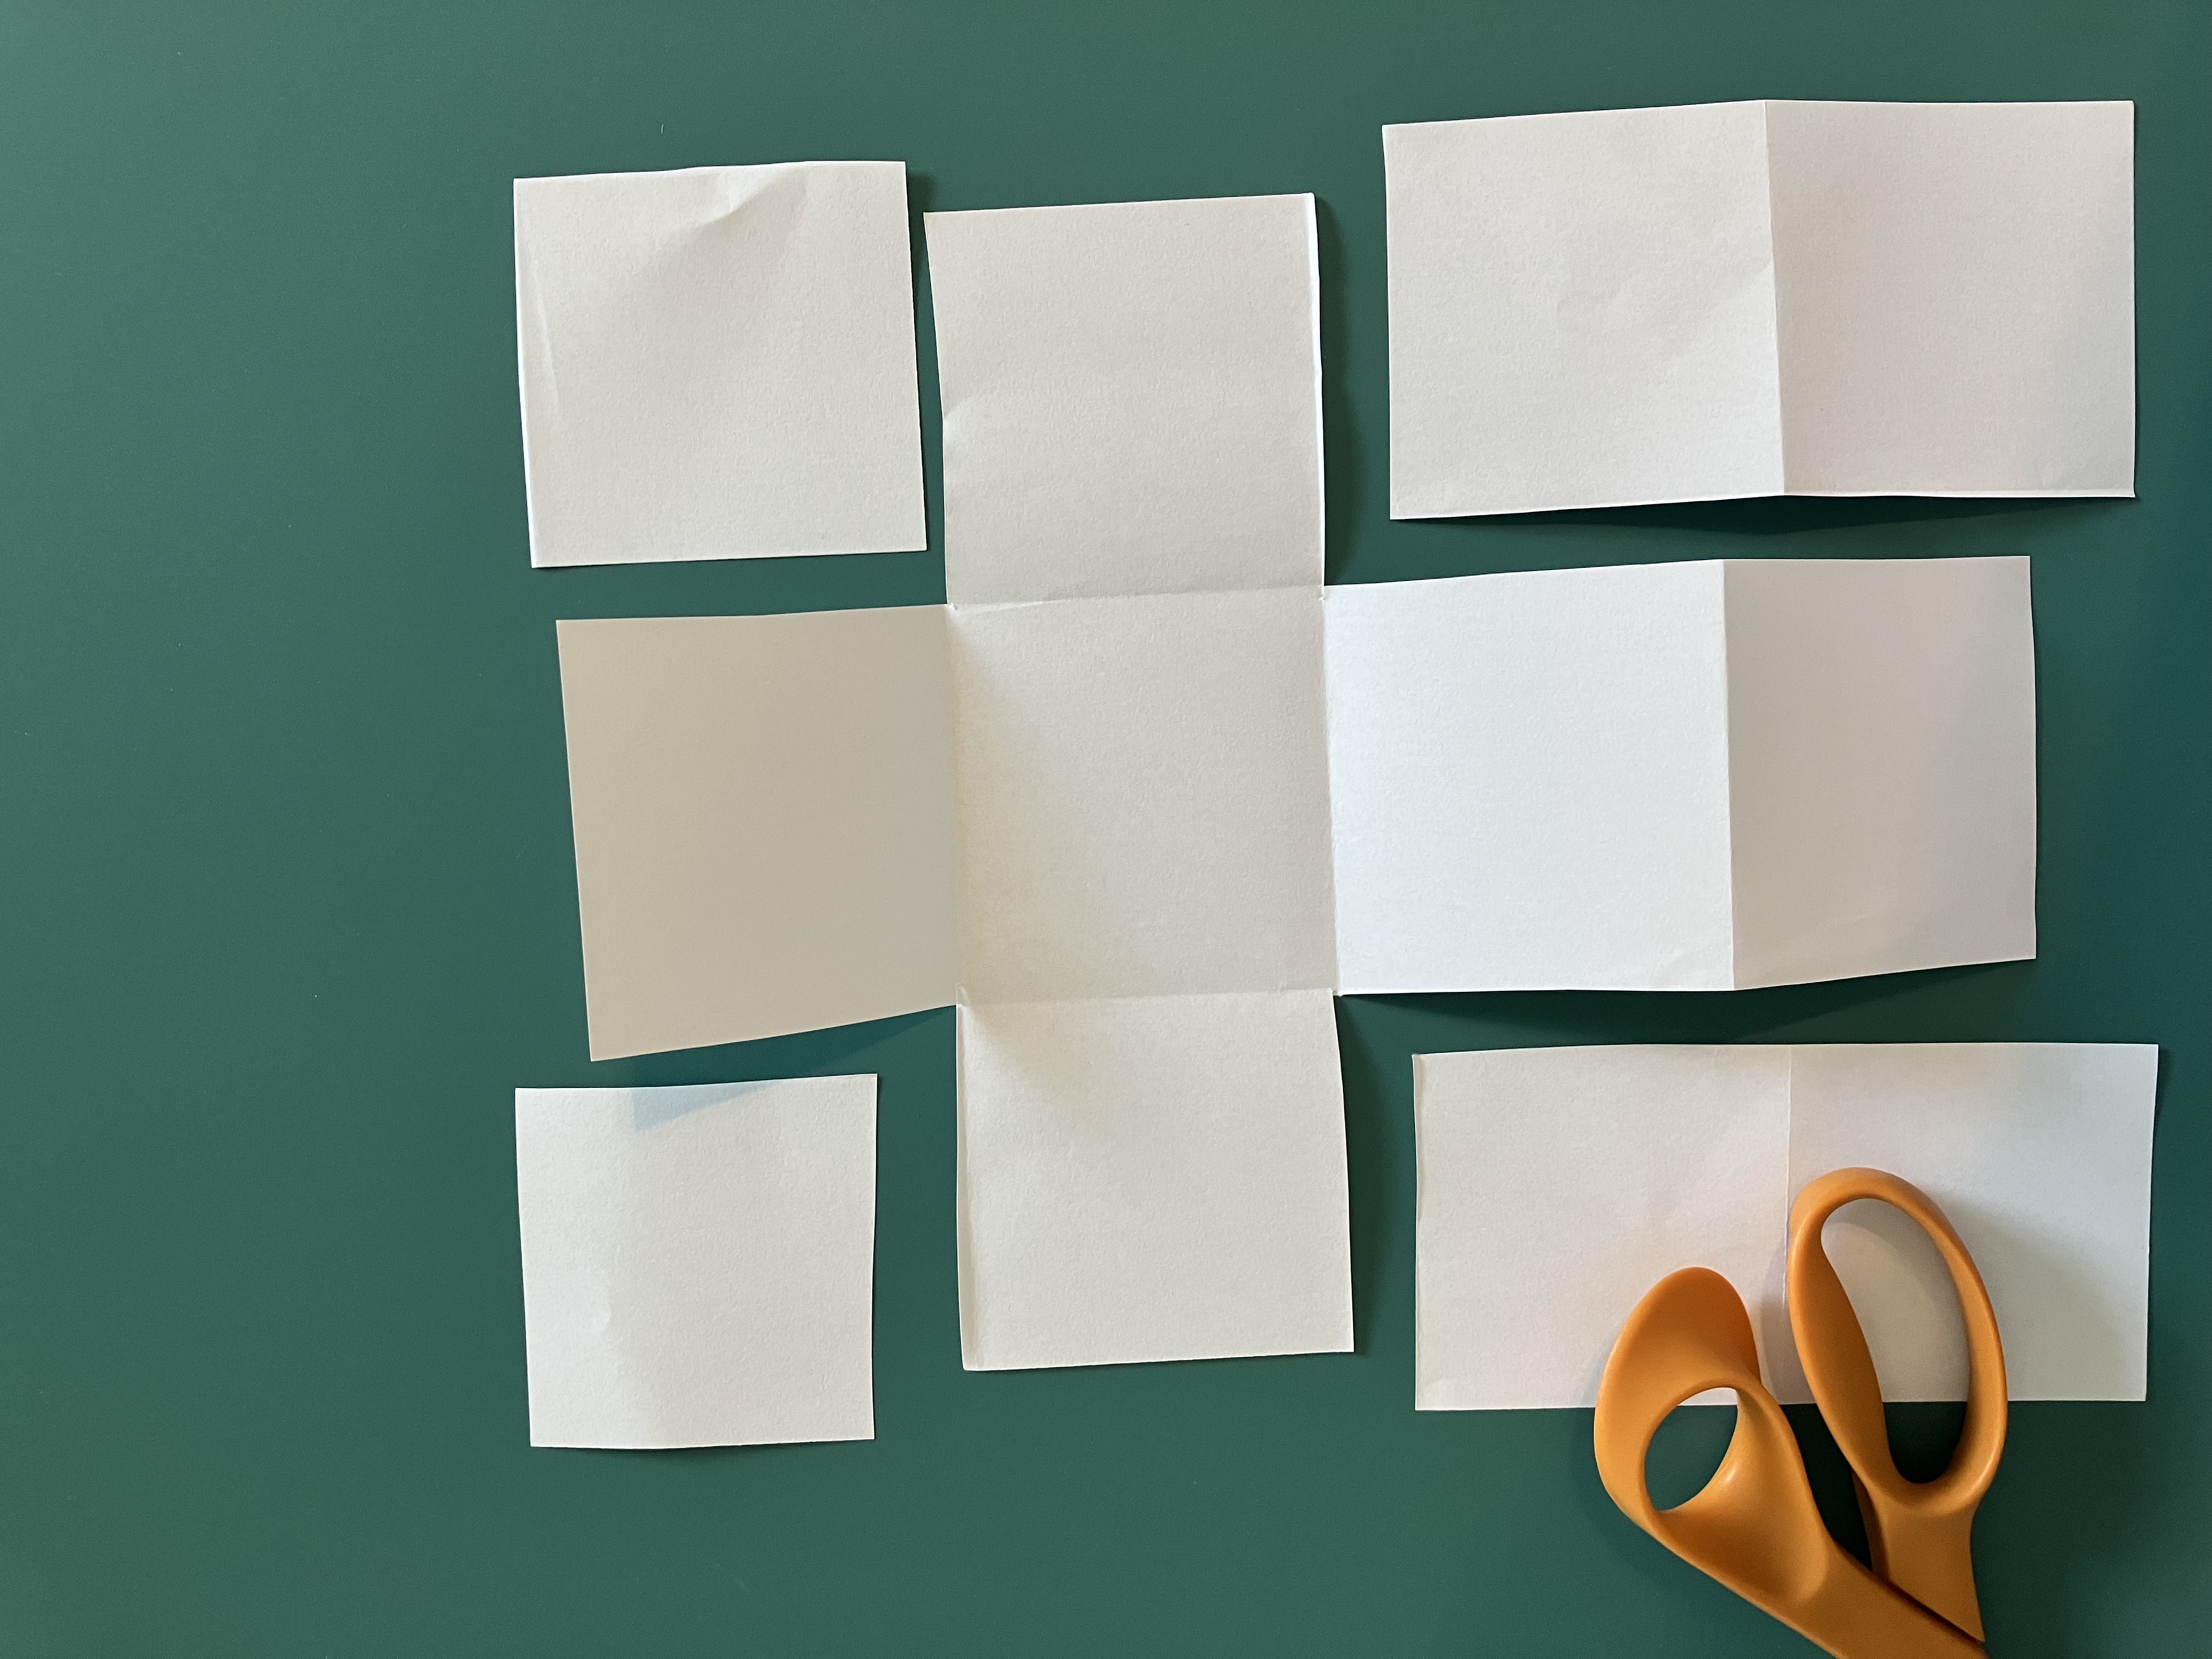
Discard the corner pieces.

This is where students should pause in their folding and cutting to fill out their graphic organizer, since it will be nearly impossible to write on after it is taped together! Students should write or draw on all six squares.
Here is an example of how they might use their cube to record the story elements of a novel. In this one, students use both writing and drawings to complete their cube.
Story Elements Cubes
Side 1 – Title and Author
Side 2 – The main character’s name, one character trait, and a small drawing
Side 3 – List of other important characters, maybe with one character trait for each
Side 4 – Description or drawing of the setting
Side 5 – Statement of the theme
Side 6 – Recommendations of why other students might want to read the book
And here’s one example for a grammar cube. In this one, students complete their cube with information about one part of speech. This one is done with writing only, no drawings, but of course kids could use colors to brighten up and individualize their cubes.
Pronouns Cubes
Side 1 – Definition of the word pronoun
Side 2 – List of subject pronouns
Side 3 – List of object pronouns
Side 4 – Definition and example of possessive pronouns
Side 5 – Definition and example of intensive pronouns
Side 6 – Definition and example of reflexive pronouns
Once all six sides are filled out, it’s time to fold up and tape the cube. Note that this cube does not have tabs (It’s much easier to cut out this way.), so kids should just tape the edges together directly.
Two ideas for using the finished cubes-
- Hang up a group of cubes by pieces of yarn fastened at a corner for a classroom display.
- Set up the story elements cubes for a walk-around activity to introduce kids to books that their classmates have read.
Related Posts
Related Resources

Pin It